The 2020 winter ski season is in full swing and if you’ve planned your ski trip for this winter I want to share some advice I’ve learned over my 30 years of being involved in skiing, from racing on the National Team to teaching all over Europe and with the British Army.
So let’s get stuck in! If you’re still a few weeks out from your trip, it’s time to talk exercise. We will focus on some movements that will really benefit you now, before you get to the slopes.
Firstly, remember nearly everything we do on skis is unilateral. This means we have two independent skis attached to our feet. Therefore we need to build those movements into our training plan as an added accessory exercise.
For those of you who aren’t already hitting the gym, you can do these at home just as easily. That being said we can let’s start with the basics.
Air Squats
This movement is a fantastic starting point. It will highlight any areas you need to focus on. Here’s an example: if I ask you to squat down and your thighs reach parallel and your heels lift off the floor slightly, this could show us you need to add in some ankle mobility as well. Or maybe you have what we call a “Buttwink” - this could well be indicating that your hamstrings are tight and pulling your pelvis to create that tilt. But let's get back to the Air Squat!
For those of you new to exercising, let’s start with doing this movement slowly and controlled at what we call “tempo”: 10 reps - 3 seconds down/2 seconds up x 3 sets. This will help you build motor control and become more familiar with the movement mechanics of the squat. And when you’re on the slope and you’re replicating the movement on skis, your body will already be used to using these muscles.
That’s the goal here: to get the muscles working, so you can ski every day on your holiday without being exhausted. Because you won’t be working these muscles at work in an office, trust me.
For people who are used to the movement, we want to build your ability to process fatigue a little easier, increase your “Threshold”, so you can hit your favourite Black run from top to bottom! We would do larger sets and quicker to build that burn in the legs. You could add a Kettlebell (Goblet Squat) to increase the load, if you had one: 30 seconds ON/30 off x 5 rounds.
Bulgarian Split Squats
Now we’ll move into a more advanced movement. The Bulgarian split squat will work a variety of things, including strength, balance and also our midline (core).
It’s easy to increase the difficulty without increasing the weight, which makes it a fantastic exercise. In the picture below you can see I start with my rear foot elevated in a lunge type position. For those of you new to exercising, keep it on the floor. The front leg is bent at 90 degrees.
VERY IMPORTANT: as you lower yourself down, don’t let your lead leg go forward!
The knee has to stay at 90 degrees (give or take) and also has to track the foot. Knee alignment here is crucial: you need to keep the chest upright and arms can go out for balance.
To advance the movement place a kettlebell in the front rack position. This will add as a distraction to the body and try and pull you off balance.
When we are skiing we are applying pressure, edge and rotation. This will enable the ski to grip (or slide) and use the curvature of the ski to make the turn radius, that is why strong gluteus muscles are so important.
If you’re new to exercising = 6 reps each side (thigh to parallel) x 3 sets
More advanced = 10 reps each side (depending on KB) x 5
Both of these options will create a lactic build up in the legs. Again, we are aiming to get your body more accustomed to this, before your trip.
Seated Pistols
Seated Pistols can be done on their own, as a great progression to be able to perform "Pistol Squats”. Or, in our case here, to build strength through the single leg squat RAM.
The beauty of this exercise is the variability and adaptability to scale for every level. I’ve used this exercise with an amputee, so she could ski for longer and stand easier out of low chair lifts.
In the picture below you can see I stand on one leg close to a seat and, holding the band, send my hips back and down towards the seat. Keeping good knee alignment here is crucial and doesn’t allow your hips to move to the side off centre (highlights weak glutes). Allow your butt to gently touch down and drive through the leading leg straight back up!
When you try this for the first time you might find a weak spot close to the seat where you drop down. Allow your chest to come slightly forward here to keep your weight centre of mass under control.
Those of you new to exercise, use a light band (red) and perform 8 reps per leg with 3 sets in total (remember to go slow and controlled).
If you’re more advanced, try without the band first then lower the seat or box you are using. You can do this easily by standing on a book to raise you up slightly higher, to increase the range of motion. Being able to drive force through your legs unilaterally is so relevant to skiing. As an example, when carving turns and creating an edge angle that generates a lot of force pushing back at you, you will be able to control that pressure build up a lot easier and maintain the turn shape.
Recovery
This is one of the most important parts of planning and executing the best holiday experience once away in the mountains.
Firstly, remember you are heading off to live at altitude for a week or two, so be prepared to be tired the first few days! Your body will need to adjust the new oxygen levels. With altitude comes the increased risk of dehydration, you lose water through respiration twice as fast at altitude as you do at the sea level. A key factor in trying to avoid muscle soreness and fatigue.
I strongly recommend taking an exercise band with you on your trip, to use for warming up, mobilising in the morning and after your day on the hills.
Most hotels will have a sauna or steam room which is also ideal to warm up those achy muscles, but remember heat comes sweat and loss of fluid so don’t overdo it.
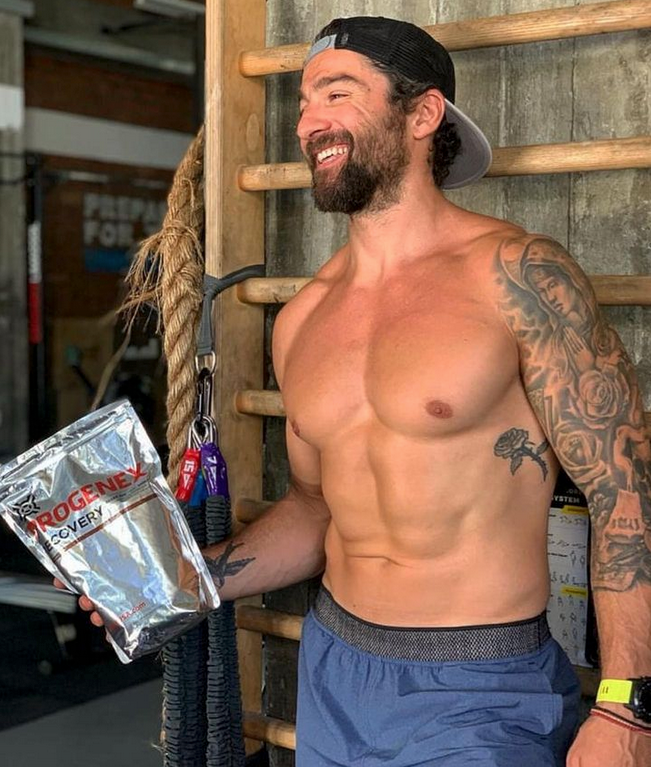
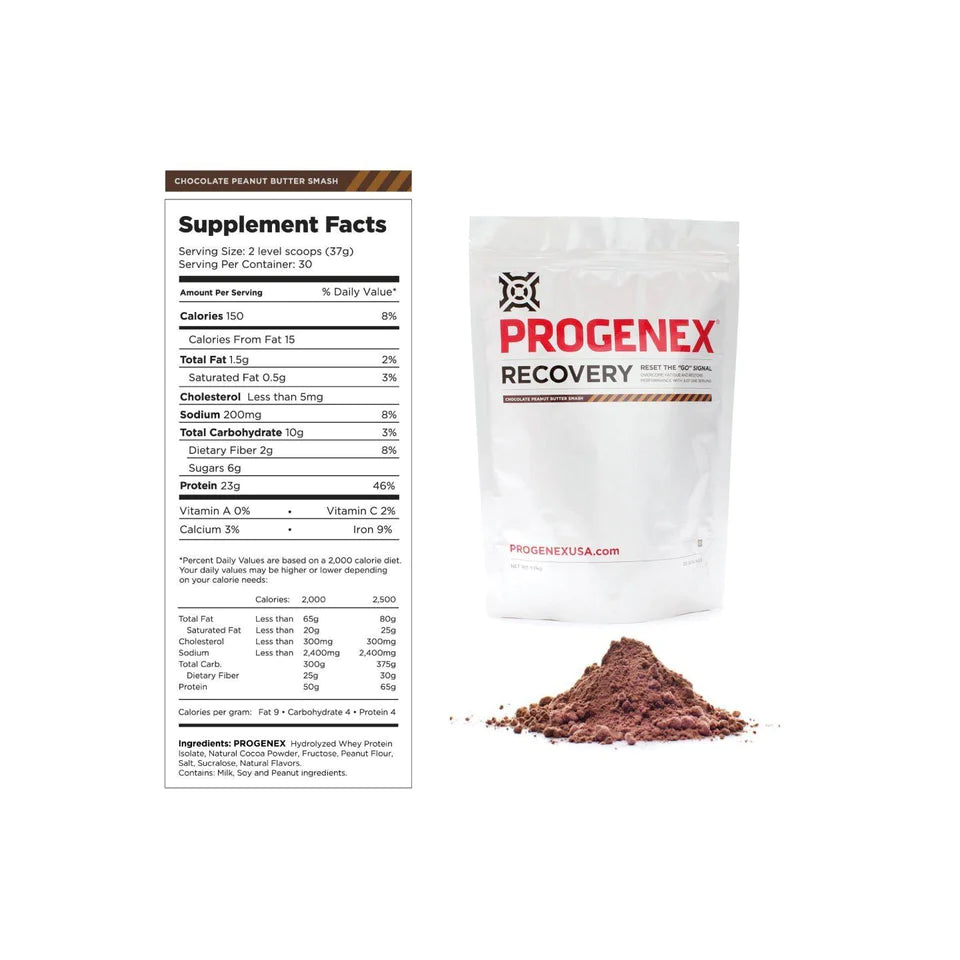
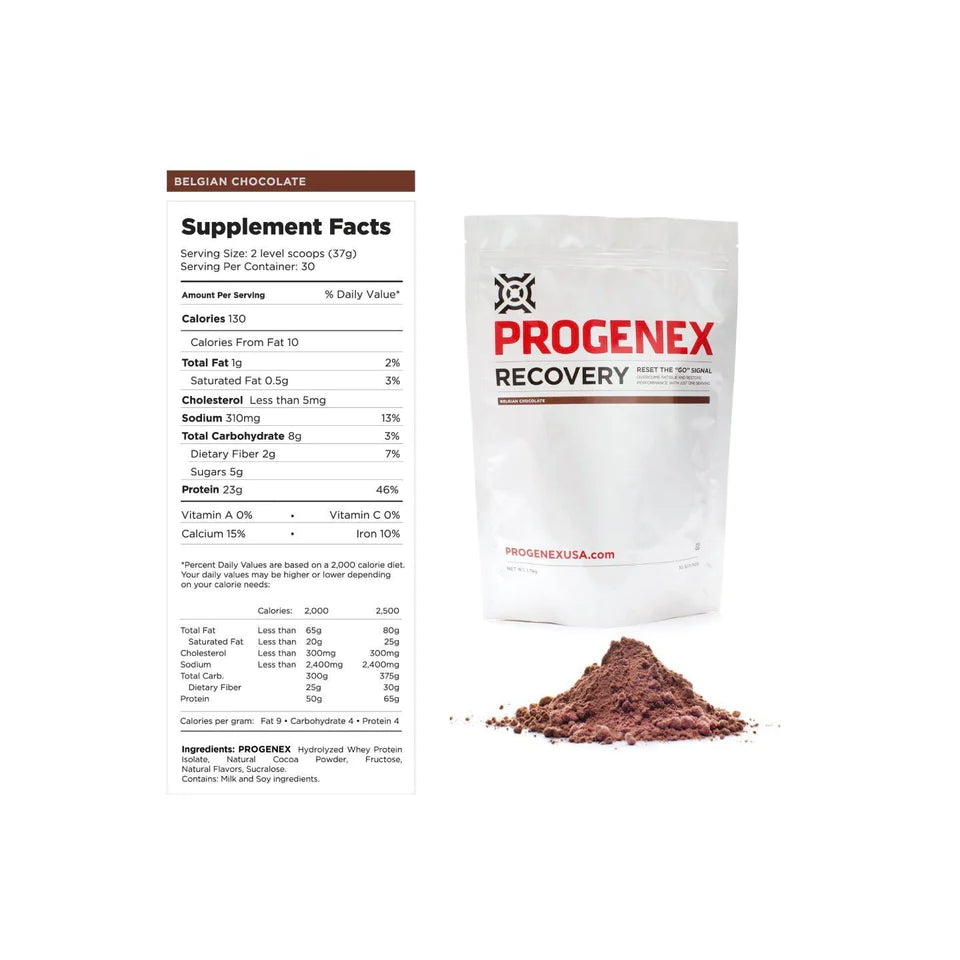
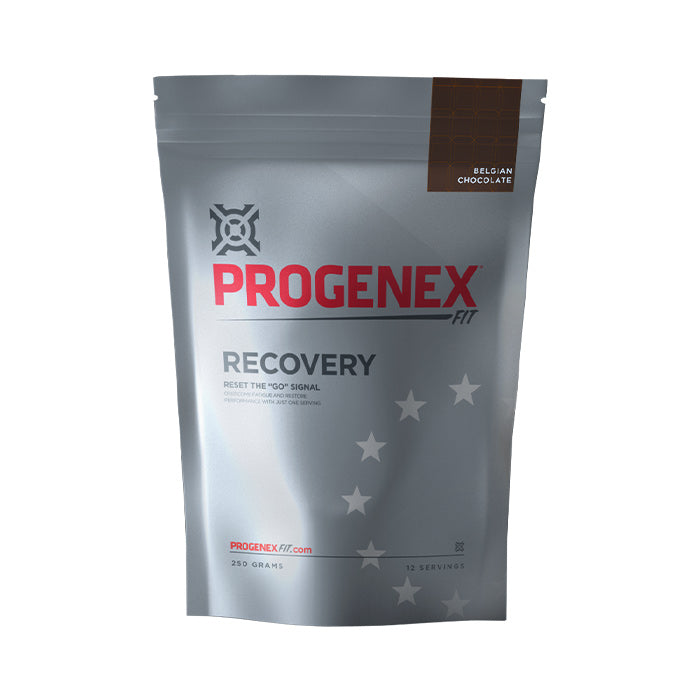
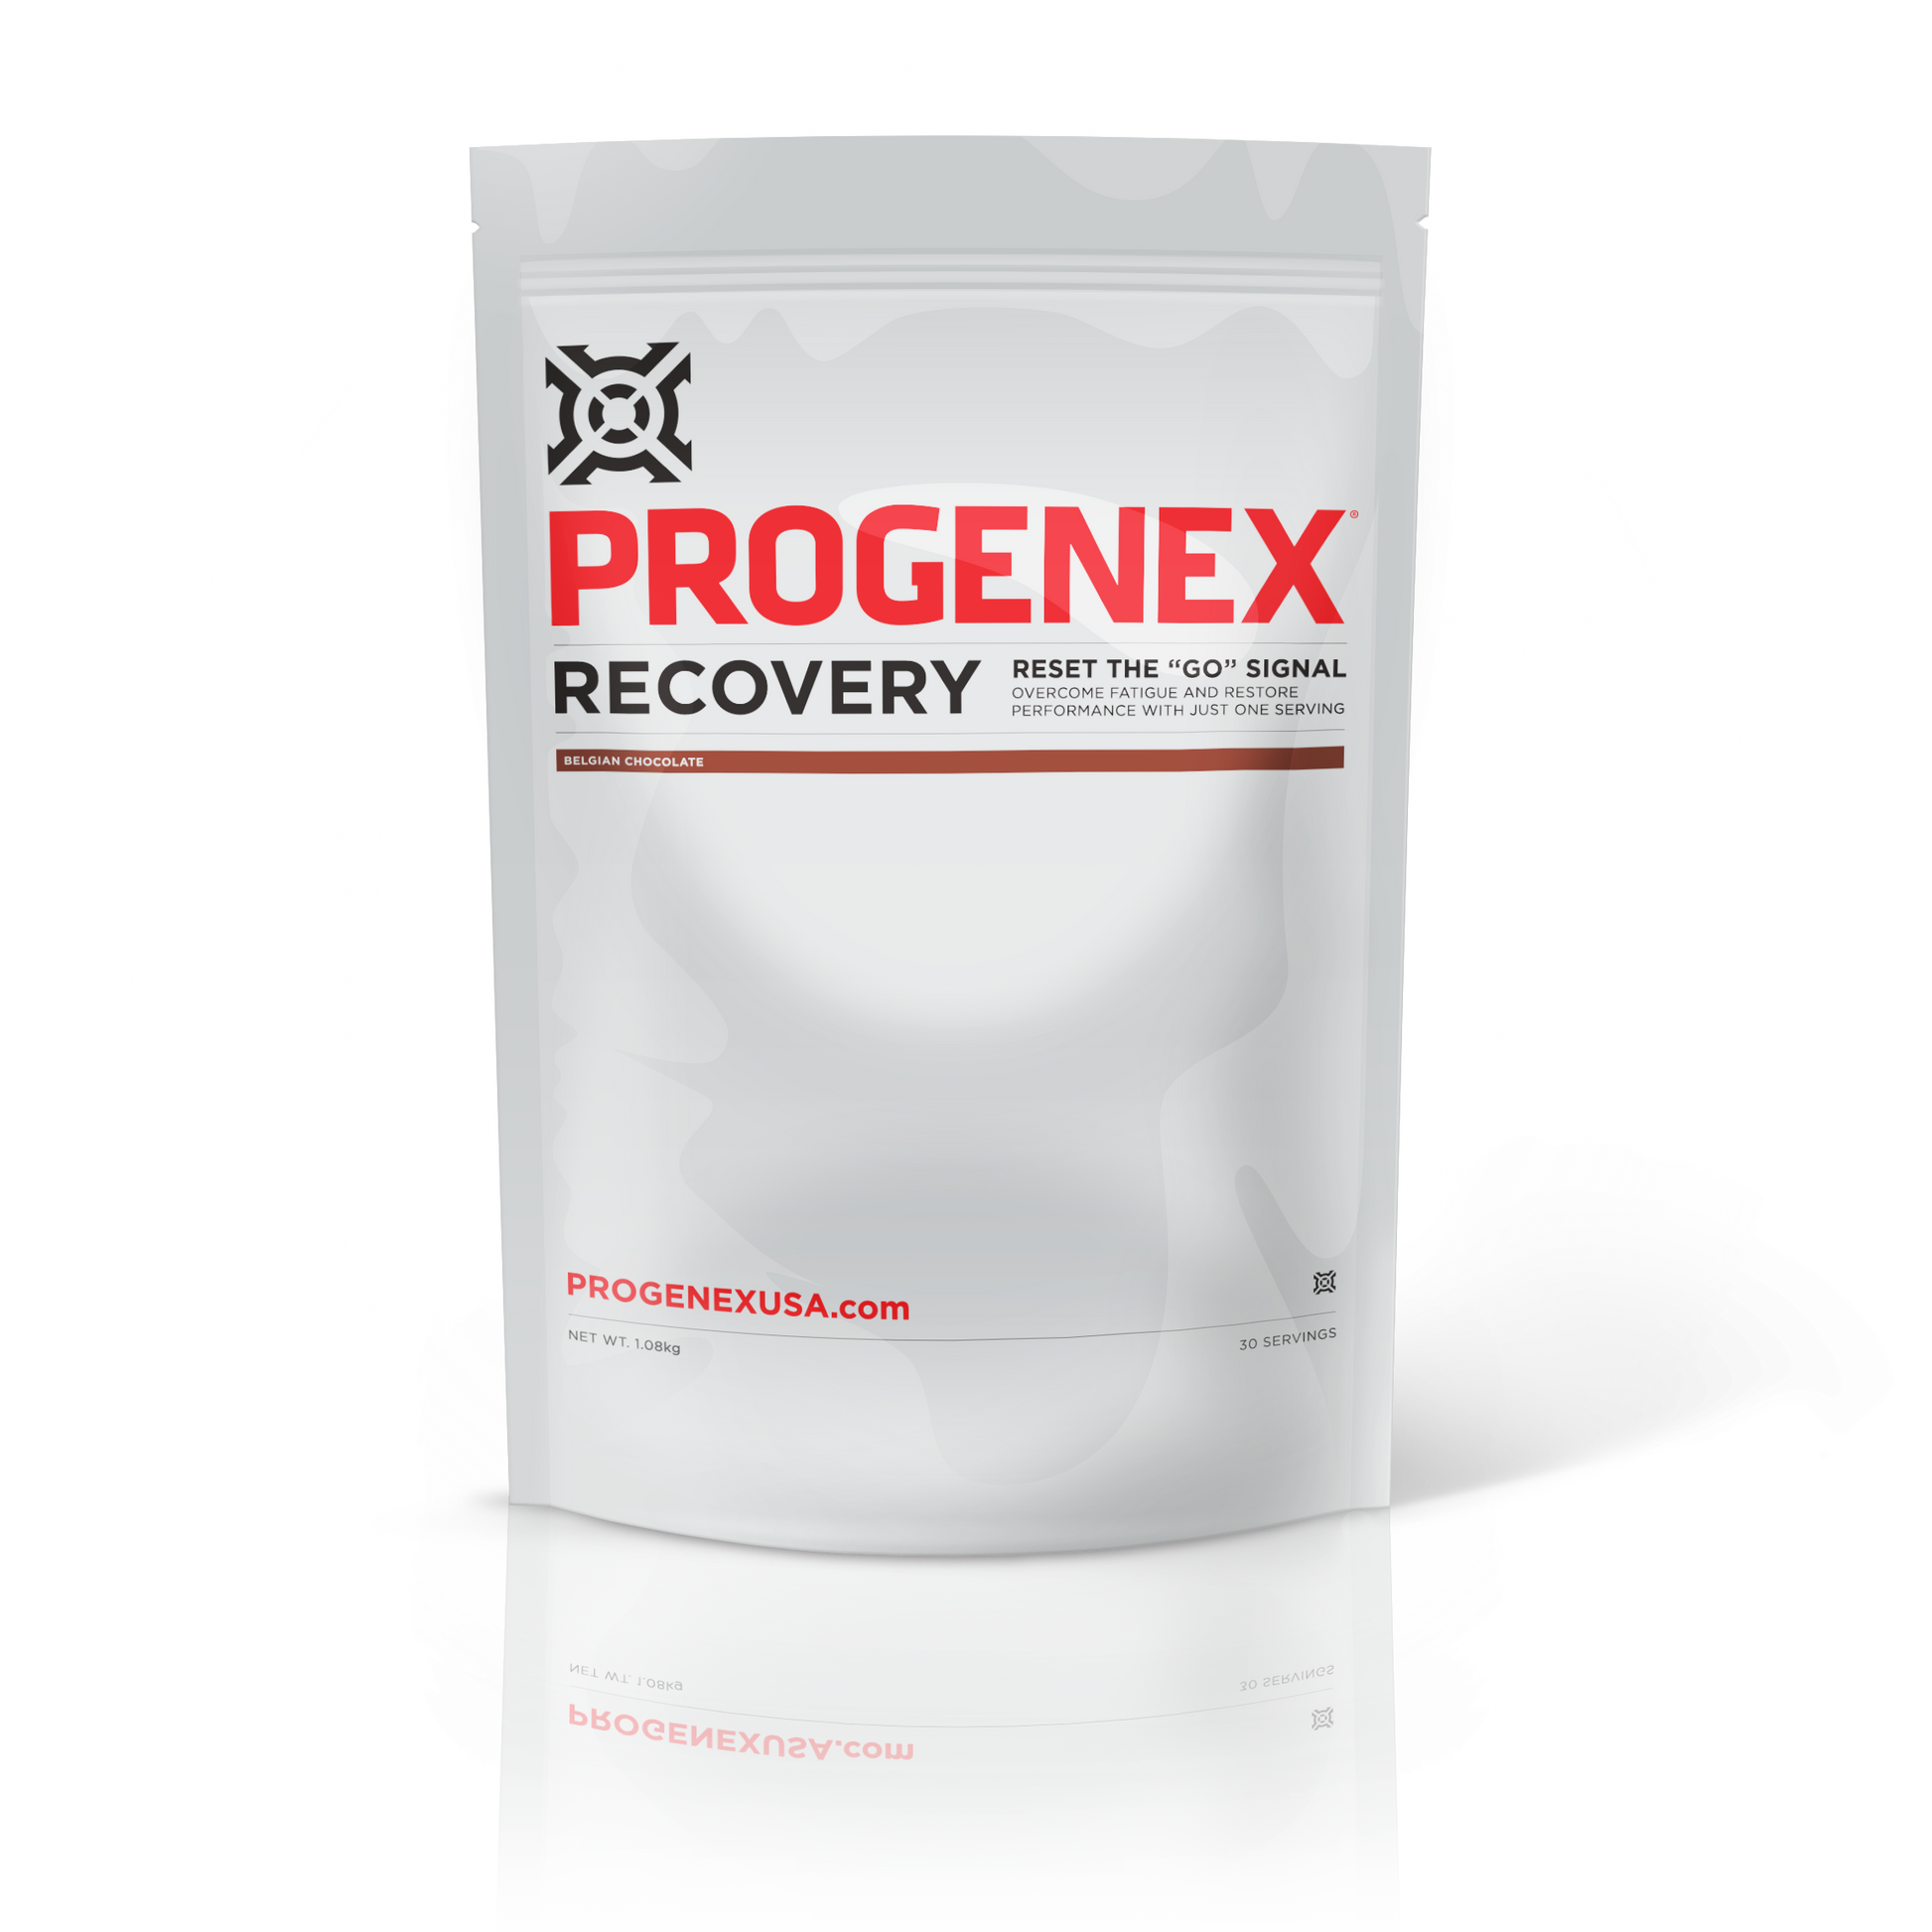
I also recommend taking away some Progenex Hype which will help with your electrolyte balance (nice small easy to carry sachets), as well as a Recovery drink. I usually drink a Recovery shake immediately after getting down off the hill and this will help with those sore muscles.
Who is coach David Meer?
Find out more about David Meer, training with him in London or how you can benefit from his remote coaching: dmc.coach
David currently holds 5 CrossFit certificate courses: L1, L2, Weightlifting, Weightlifting 2 and Kids. As an athlete you can see him competing in several European comps, such as Tribal Clash.
You can also follow David on Instagram: @dmc.coach
Liked this article?
For more Progenex Fit content, tips & special offers, follow us on Facebook and Instagram.